How to Add a Watermark for PowerPoint: 2 Ways + Step-by-Step Guide for Professional Presentations
When you’re creating a PowerPoint presentation, protecting your content with a watermark can be crucial for branding and security. Whether you want to label slides as confidential, mark them with your company’s logo, or simply add a creative touch, adding a watermark to PowerPoint is a great option.
This guide will walk you through the steps to add a watermark for PowerPoint slides, whether you’re applying it to select slides or all of them. We’ll cover two methods for adding watermarks, showing you how to customize them to fit your style. Plus, we’ll explore how to take your presentation a step further by making it interactive with AI-powered tools like ClassPoint.
Why Add a Watermark in PowerPoint?

A watermark is added to documents to protect original content and help to avoid duplication. Nowadays, with different kinds of media, you can find watermarks on videos, images, and of course PowerPoint slides. Not only do watermarks help to protect your content, but can help with:
- Branding: Ensuring that your logo or company name is visible on every slide.
- Confidentiality: Marking presentations as confidential to control the distribution of sensitive information.
- Copyright Protection: Securing intellectual property by indicating ownership of the slide content.
By adding a watermark for PowerPoint, you can communicate important information about the nature of your presentation while enhancing its professional appearance.
How to Add Watermarks Using Slide Master
When using the Slide Master Option, you can apply a watermark to every slide in your presentation, or a select few. This method is best when you need consistency across multiple slides. In addition, the Slide Master is:
- Easier to update: If you need to update or remove the watermark later, using the Slide Master allows you to make changes to all slides at once.
- Less intrusive: With the Slide Master, you can layer your watermark behind the content, ensuring it doesn’t interfere with the text, charts, or images on individual slides.
How to Add Watermarks to All Slides
Open your PowerPoint file and start in the View tab. Then, click on Slide Master to view the master design of all slides. What you change here, will apply to all the same slides of that layout in your presentation.

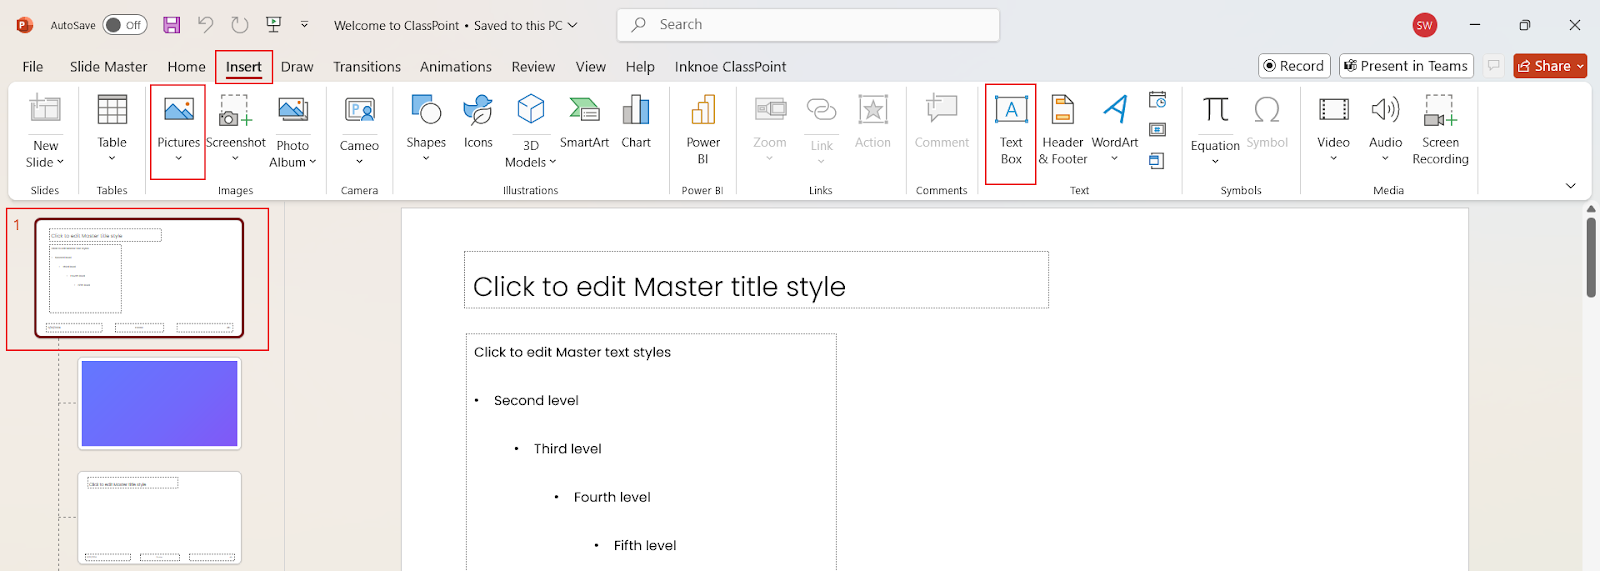
On the left side, select the first slide, the Master Slide. Then, depending if you want your watermark to be text or an image, go to the Insert tab, and click on Text Box or Picture.
Some examples could be, the words “Draft,” “Sample,” “Confidential,” or images like your logo, or a predesigned watermark.
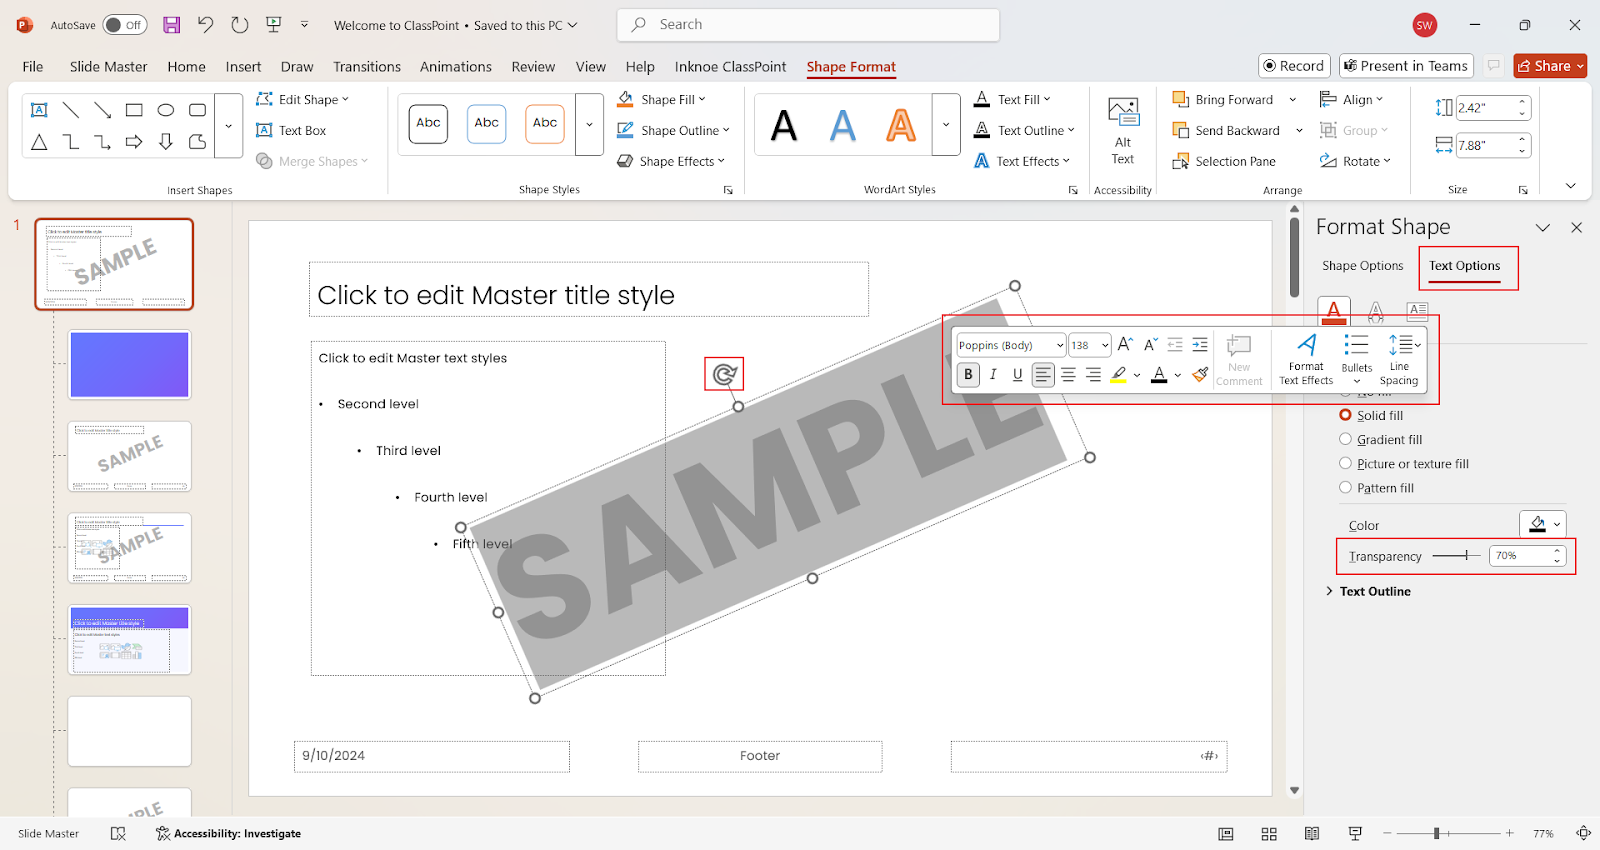
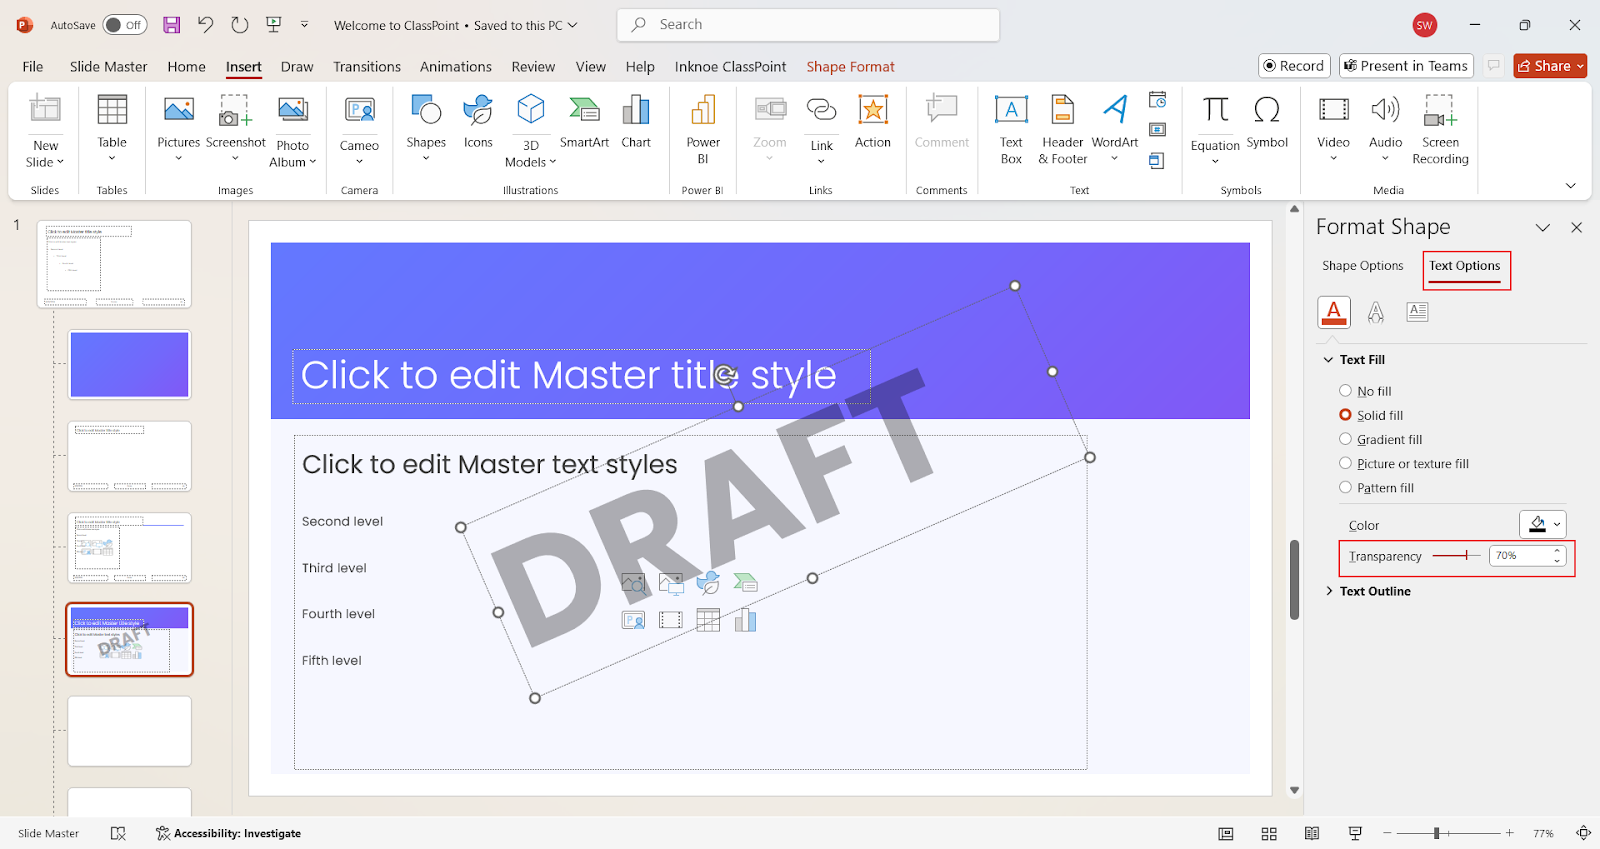
Customize the watermark to fit your design. You can rotate the text, change the color, font, and size, and also edit the transparency with these steps:
- Right-click on the text and open the Format Shape pane
- Select Text Options
- Edit the Transparency
Close the Slide Master View to apply the watermark to all slides.

This method ensures that every slide in your presentation automatically has the watermark without needing to apply it to each slide manually.
How to Remove a Watermark
To remove a watermark that has been added with Slide Master, you’ll need to:
- Go to the View tab and select Slide Master.
- Find the slide with the watermark, click on it, and press Delete.
- Exit Slide Master view to return to your presentation.
This method will remove the watermark from every slide that uses that layout. To only have watermarks on certain slides, read the next section.
How to Add Watermarks Only to Select Slides
Sometimes, you might only want a watermark on a few slides rather than all of them. Here’s how to do it:
Open your PowerPoint file and start in the View tab. Then, click on Slide Master to view the master design of all slides. This time though, we will select a specific layout to add the watermark to, instead of the first Master Slide like we did in the previous method.
On the left side, select the layout of the slides that will include your watermark. Then, depending on if you want your watermark to be text or an image, go to the Insert tab, and click on Text Box or Picture.

Adjust the watermark’s position and transparency so that it’s visible but not intrusive. You can rotate the text, change the color, font, and size, and also edit the transparency in the Format Shape pane.
Now, you can use this layout in your presentation for slides that you want the watermark to appear on.

How to Add a Watermark Using Header and Footer
If you prefer to add a watermark that doesn’t interfere with your content, then using the Headers and Footers is the way to go.
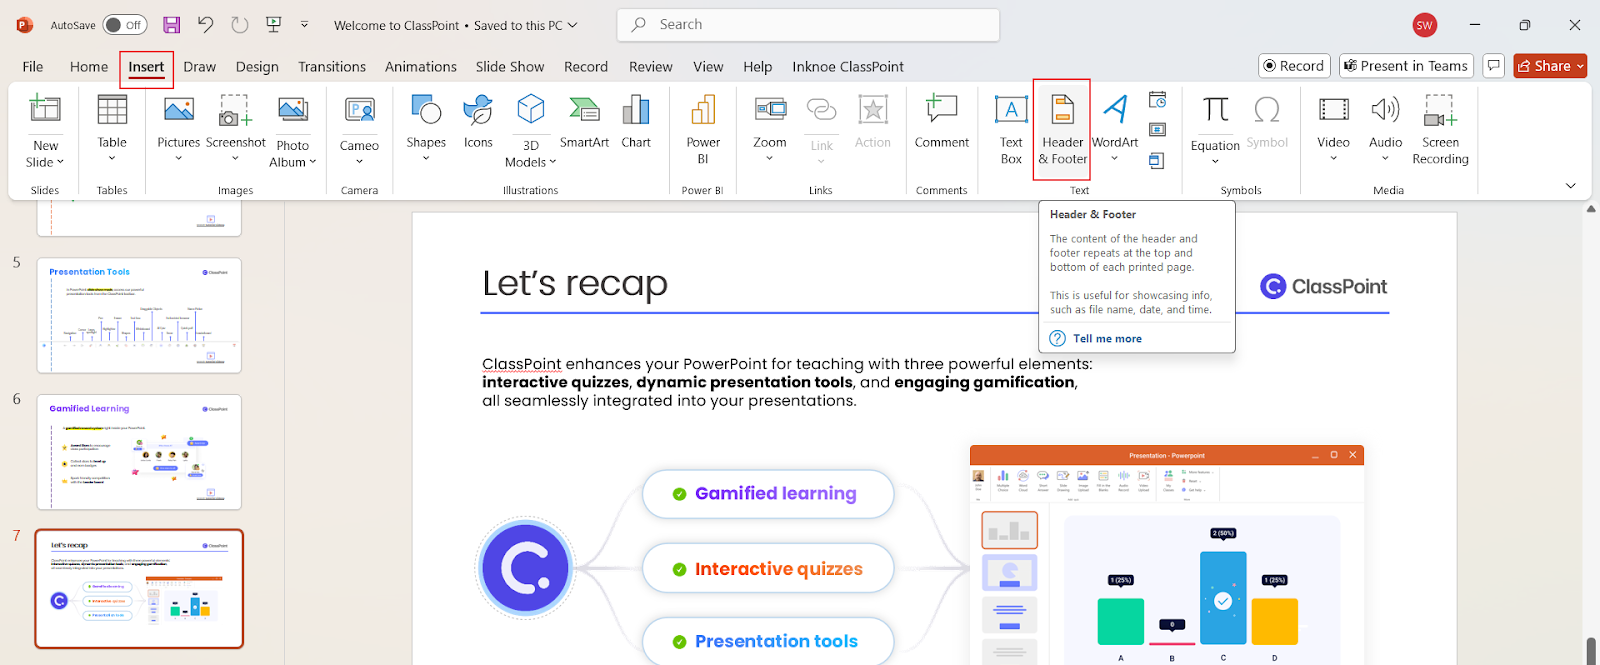
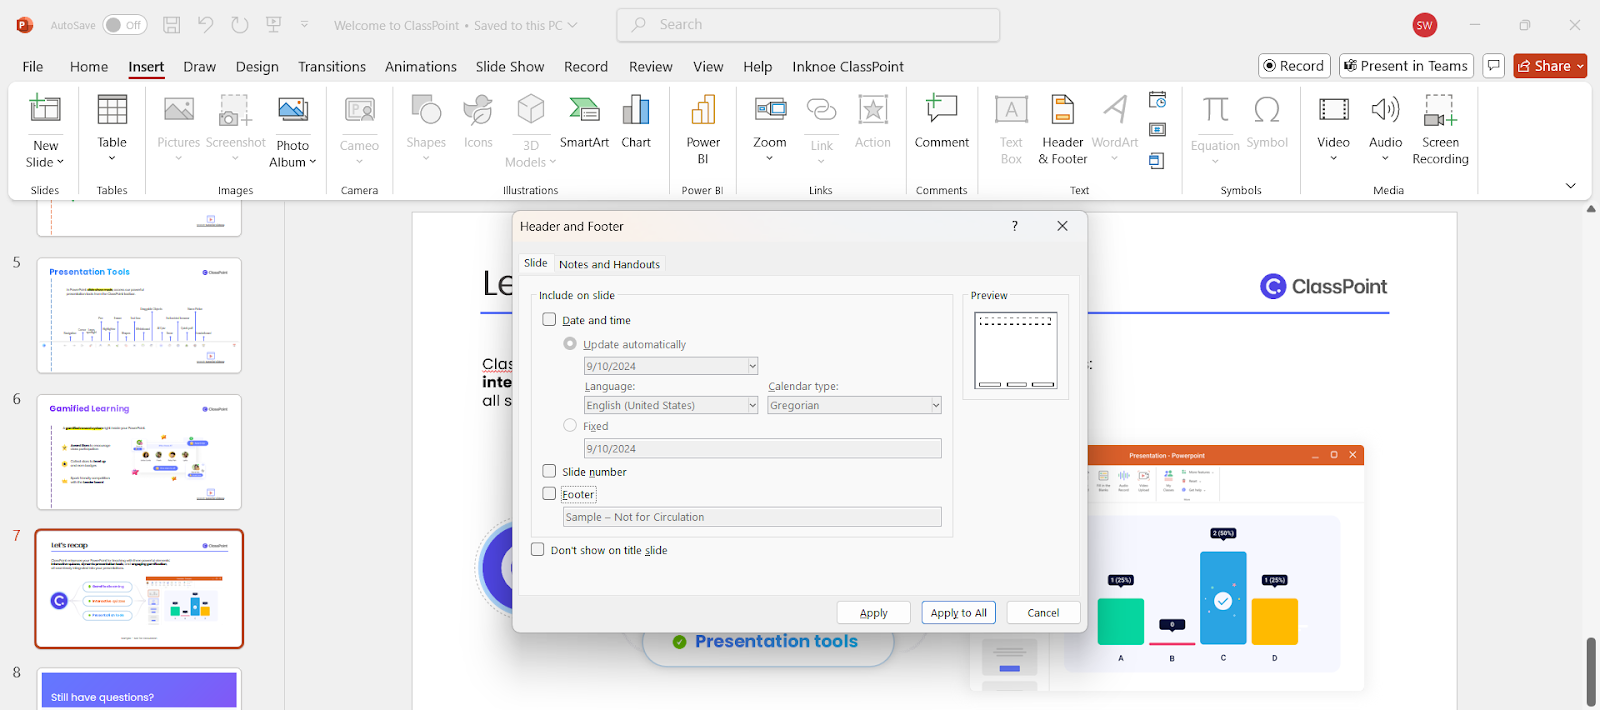
Begin on the slide you want to add your watermark to. Go to the Insert tab on the ribbon, then click on Header & Footer.
In the Header and Footer dialog box, add the text in the Footer box. This could be text like:
- Company Name – Proprietary Information
- Do Not Distribute
- Preliminary Results
- Sample – Not for Circulation
- Restricted Access
- Classified
- Presentation Copy – Not Final

Click Apply to add it only to the current slide or Apply to All to add the watermark to every slide Then click the text to adjust the font style, size, and color to make it look like a watermark.

This method works well if you need a simple text-based watermark that applies to multiple slides.
How to Remove a Watermark from the Header and Footer
If you’ve added a watermark through the Header and Footer option and need to remove it, follow these simple steps:
- Start on the slide where the watermark appears.
- Click on the Insert tab in the ribbon, then select Header & Footer.
- In the Header and Footer dialog box, uncheck the boxes for Footer.
- Click Apply to All to remove the watermark from all slides, or click Apply to remove it from just the current slide.
Which Method Should I Use?
Choose Slide Master when:
- You want a consistent watermark on every slide.
- You need an easy-to-update or removable watermark.
Choose Header and Footer when:
- You need a quick way to add a simple text watermark to your presentation.
- You want minimal intrusion on your slide content, as this method keeps the watermark subtle and positioned out of the way.
Tips and Tricks for Adding Watermarks
- Make Watermarks Fit Your Brand
Use your company’s logo or slogan as the influence for your watermark. Match the font, color, and style of the watermark to your brand’s identity. You can also adjust the size of the watermark so it’s noticeable but doesn’t overwhelm the slide.
- Visually Optimize Your Watermark
Ensure that your watermark doesn’t overpower your content by making it semi-transparent if desired, position your watermark in areas that don’t distract from the main content, such as in the bottom-right corner. Lastly, try different rotations or alignments to achieve a subtle, professional look.
- Create an Uneditable Watermark
Convert your PowerPoint to PDF to prevent anyone from editing the watermark, or add password protection for extra security. Flatten the watermark by saving your presentation as an image-based format (JPEG or PNG) and re-inserting the slides as images, which locks in the watermark.
Instantly convert your PowerPoint slides into a downloadable PDF file with ClassPoint's Share PDF feature.
data-title="ClassPoint's Share PDF is Forever Free"
data-description="800,000+ educators and professionals use ClassPoint to supercharge their PowerPoint presentations."
- Use Consistent Watermarks Across Presentations
For brand consistency, save your watermark settings in a PowerPoint template. This ensures that every presentation you create has the same watermark style, logo, and position.
- Watermark Templates for Different Audiences
Create different watermark templates depending on your audience, such as “Internal Use Only” for team meetings or “Client Preview” for external presentations..
Create Interactive Slides in Your Presentations with AI

Adding a watermark for PowerPoint slides helps secure your content, but making your presentation engaging is just as important. AI-powered tools like ClassPoint can help transform your slides into interactive experiences in a timely, efficient manner.
Here’s why you might want to consider integrating ClassPoint into your watermarked presentations:
- Engage Your Audience: With features like live quizzes, polls, and instant feedback, ClassPoint can turn your static presentation into an interactive discussion.
- Powerful Presentation Tools for Presenters: Utilize annotation features, timers, browsers, and spotlight functions. These tools enhance your ability to highlight key information, manage presentation flow, and interact dynamically with your audience.
- Seamless Integration: ClassPoint fits right into PowerPoint, allowing you to add interactive elements without switching between programs.
To create interactive quiz questions based on your slide content, follow these easy steps:
- Download, install, and sign into ClassPoint for free from classpoint.io
- Enter PowerPoint slide show on the slide with information that you want to generate a question with
- Click ClassPoint AI on the toolbar
- Edit your options and begin generating
- Save as a slide in your presentation and get ready to interact live with your audience.
Learn more about creating your own interactive presentation in PowerPoint.
data-title="Try ClassPoint for Free"
data-description="800,000+ educators and professionals use ClassPoint to boost audience engagement right inside PowerPoint."


Comments
Post a Comment